Local Installation
This section describes how to install horizon locally.
Prerequisites
Horizon is built entirely on Kubernetes and has been fully tested on its v1.19.3 ~ v1.24.7 release.
We are assuming you have a basic understanding of what the Kubernetes is and how it runs.
You can use Kind to run a local Kubernetes cluster quickly. Minikube is another highly useful tool to set up a local Kubernetes cluster.
Hardware
The following table lists the minimum and recommended hardware configurations for deploying Horizon.
Minimal installation
This installation, requiring minimum hardware resources, is designed for testing and developing locally. It is not recommended for production use.
Resources required
| Resource | Minimum | Recommended |
|---|---|---|
| CPU | 1 CPU | 2 CPU |
| Mem | 3 GB | 4 GB |
| Disk | 40 GB | 80 GB |
Components
| Component | Version |
|---|---|
| Gitlab (May not exist) | 13.11.7-ce.0 |
| Argo-cd | v2.4.11 |
| Tekton | dashboard:v0.13.0pipeline: v0.28.0triggers: v0.17.0 |
| Chartmuseum | v0.15.0 |
| Redis | 6.0.7-alpine |
| Mysql | 8.0.31-debian-11-r0 |
| Docker-registry | 2.8.1 |
Full installation
Install all components of Horizon system.
Resources required
| Resource | Minimum | Recommended |
|---|---|---|
| CPU | 2 CPU | 4 CPU |
| Mem | 6 GB | 8 GB |
| Disk | 40 GB | 80 GB |
Components
| Component | Version |
|---|---|
| Gitlab (May not exist) | 13.11.7-ce.0 |
| Argo-cd | v2.4.11 |
| Tekton | dashboard: v0.13.0pipeline: v0.28.0triggers: v0.17.0 |
| Chartmuseum | v0.15.0 |
| Grafana | 8.4.6 |
| Minio | 2022.10.29-debian-11-r0 |
| Redis | 6.0.7-alpine |
| Mysql | 8.0.31-debian-11-r0 |
| Harbor | 2.2.3 |
Softwares
- Kubernetes cluster version 1.19.3 ~ v1.24.7.
- Installed kubectl command-line tool.
- Have a kubeconfig file (default location is
~/.kube/config). - Installed helm command-line tool.
- Installed ingress-nginx or any other ingress controller.
Installation by scripts
We provide a script to help you install Horizon with minimal requirements. You should have installed docker before running the script. If you are not familiar with docker, you can refer to this to install it.
Install With Kind/Minikube
After installing docker, you can run the following command to install Horizon, based on kind.
- user from China should use flag
-cnto use the Ali image registry mirror of docker hub. - the default installation will install Horizon with the latest version. If you want to install a specific version, you can use flag
-v/--versionto specify the version. - the default is minimal installation. If you want to install all components of Horizon, you can use flag
-f/--fullto specify the full installation.
In order to avoid the rate limit of the access to github api, you can use flag --github-token to specify your own access token. See: github personal access tokens.
curl -sfL https://raw.githubusercontent.com/horizoncd/horizon/main/scripts/install.sh | bash -s -- -k
Command above will install Horizon based on kind, and if you want to install Horizon based on minikube, you can run the following command.
curl -sfL https://raw.githubusercontent.com/horizoncd/horizon/main/scripts/install.sh | bash -s -- -m
Gitlab
Horizon stores all applications' configuration and operation in gitlab. With minimal installation, the public gitlab will be used as the gitops repo, so minimal installation is only for testing and developing, cause your gitops repo could be deleted by others.
The install script also supports to bring up a local gitlab instance for you. You can run the following command to install Horizon with a local gitlab instance.
curl -sfL https://raw.githubusercontent.com/horizoncd/horizon/main/scripts/install.sh | bash -s -- -k -g
If you want to use your own gitops repo, you can run the following command to install Horizon.
curl -sfL https://raw.githubusercontent.com/horizoncd/horizon/main/scripts/install.sh | bash -s -- -k --gitlab-external <defaultBranch> <rootGroupID> <gitlabURL> <token>
defaultBranch: the default branch of your gitops repo, this depends on version of your gitlab instance. Version >= 14.0 should use main, and version < 14.0 should use master.
rootGroupID: the root group id of your gitops repo, it can be found in the url of your gitops repo.
gitlabURL: the url of your gitlab instance.
token: the token of your gitlab account or gitlab group.
Installation manually
We use helm to organize Horizon's whole dependencies, which means you can launch a whole system by Helm.
Deploy a kubernetes cluster
Install kind or minikube
- Kind
- Minikube
Linux
# install kind
curl -Lo ./kind https://kind.sigs.k8s.io/dl/v0.11.1/kind-linux-amd64
chmod +x ./kind
mv ./kind /usr/local/bin/kind
MacOS
# install kind
brew install kind
Linux
# install minikube
curl -Lo minikube https://storage.googleapis.com/minikube/releases/latest/minikube-linux-amd64
chmod +x minikube
mv minikube /usr/local/bin/
MacOS
# install minikube
brew install minikube
Run a kubernetes cluster
- Kind
- Minikube
# prepare a kind configuration file `kind.yaml`:
cat <<EOF > kind.yaml
kind: Cluster
apiVersion: kind.x-k8s.io/v1alpha4
nodes:
  - role: control-plane
    kubeadmConfigPatches:
      - |
        kind: InitConfiguration
        nodeRegistration:
          kubeletExtraArgs:
            node-labels: "ingress-ready=true"
    extraPortMappings:
      - containerPort: 80
        hostPort: 80
        protocol: TCP
      - containerPort: 443
        hostPort: 443
        protocol: TCP
EOF

# kubernetes installation, you can specify any k8s version between v1.19.16 and v1.24.7
kind create cluster --image=kindest/node:v1.19.16 --name=horizon --config=kind.yaml

# waiting for the new kubernetes cluster to be running healthily

# install ingress-nginx by helm
helm repo add ingress-nginx https://kubernetes.github.io/ingress-nginx
helm install my-ingress-nginx -n ingress-nginx ingress-nginx/ingress-nginx --version 4.1.4 --set controller.hostNetwork=true --set controller.watchIngressWithoutClass=true --create-namespace
- Node in K8s cannot resolve service domain successfully by default, so you need to set serviceIP of
corednsas anameserverin/etc/resolv.conf.
docker exec horizon-control-plane bash -c \
"echo \"nameserver $(kubectl get service -n kube-system kube-dns -o jsonpath="{.spec.clusterIP}")\" > /etc/resolv.conf"
Harborinstalled byHorizonuses an auto-generated tls certificate which will causeX509problem when pulling image on host, so you need to add some contents to the config ofContainerdand restart it.
docker exec horizon-control-plane bash -c \
$'echo \'[plugins."io.containerd.grpc.v1.cri".registry.configs."horizon-registry.horizoncd.svc.cluster.local".tls]
  insecure_skip_verify = true\' >> /etc/containerd/config.toml'

docker exec horizon-control-plane systemctl restart containerd
The cpu and memory usage please refer to Hardware Requirements
# kubernetes installation, you can specify any k8s version between v1.19.16 and v1.24.7

minikube start --container-runtime=docker --driver=docker --kubernetes-version=v1.19.16 --cpus=4 --memory=8000 --ports=80:80 --ports=443:443

# waiting for the new kubernetes cluster to be running healthily

# install ingress-nginx by helm
helm repo add ingress-nginx https://kubernetes.github.io/ingress-nginx
helm install my-ingress-nginx -n ingress-nginx ingress-nginx/ingress-nginx --version 4.1.4 --set controller.hostNetwork=true --set controller.watchIngressWithoutClass=true --create-namespace
- Node in K8s cannot resolve service domain successfully by default, so you need to set serviceIP of
corednsas anameserverin/etc/resolv.conf.
# in host machine
docker exec horizon-control-plane bash -c \
"echo \"nameserver $(kubectl get service -n kube-system kube-dns -o jsonpath="{.spec.clusterIP}")\" > /etc/resolv.conf"
Install Horizon by helm
Install Horizon by helm, you can find the latest version of Horizon in Horizon Chart Repo.
The default installation is not the same as the minimal installation by script, it will install gitlab by default.
- For users from China, you cloud use values.:
helm install horizon horizoncd/horizon -n horizoncd --version 2.1.7 --create-namespace -f https://raw.githubusercontent.com/horizoncd/helm-charts/main/horizon-cn-values.yaml
- The default is minimal installation, if you want to install all components, you can use values:
helm install horizon horizoncd/horizon -n horizoncd --set minimal=false,full=true --version 2.1.7 --create-namespace
- If you want to use your own gitlab instance, please use command:
helm install horizon horizoncd/horizon -n horizoncd --version 2.1.7 --create-namespace \
--set gitlab.enabled=false \
--set core.args.gitOpsRepoDefaultBranch=<defaultBranch> \
--set config.gitopsRepoConfig.rootGroupPath=<rootGroupID> \
--set config.gitopsRepoConfig.url=<gitlabURL> \
--set config.gitopsRepoConfig.token=<gitlabToken> \
--set argo-cd.configs.credentialTemplates.gitops-creds.url=<gitlabURL> \
--set argo-cd.configs.credentialTemplates.gitops-creds.password=<gitlabToken>
helm repo add horizoncd https://horizoncd.github.io/helm-charts
helm install horizon horizoncd/horizon -n horizoncd --version 2.1.7 --create-namespace
Keep watching the service status of Horizon. If everything goes well, you will see all the pods are running or completed.
Below shows the output of minimal installation.
kubectl get pod -nhorizoncd -w

# NAME                                                 READY   STATUS      RESTARTS   AGE
# el-horizon-listener-5cb9f68784-d9srw                 1/1     Running     0          14h
# horizon-argocd-application-controller-0              1/1     Running     0          14h
# horizon-argocd-repo-server-695b6b99d8-jdvln          1/1     Running     0          14h
# horizon-argocd-server-784fd775f9-52f2l               1/1     Running     0          14h
# horizon-chartmuseum-6995b76cf8-2dfgd                 1/1     Running     5          14h
# horizon-core-8475d8db77-shnf7                        1/1     Running     7          14h
# horizon-gitlab-0                                     1/1     Running     0          14h
# horizon-minio-d8948c84-sdbxg                         1/1     Running     0          14h
# horizon-minio-provisioning-nrzbx                     0/1     Completed   0          14h
# horizon-mysql-0                                      1/1     Running     0          14h
# horizon-redis-ha-server-0                            2/2     Running     0          14h
# horizon-registry-69f6bd5957-p7bxw                    1/1     Running     0          14h
# horizon-web-5f6dd9fdfd-ctrvj                         1/1     Running     0          14h
# tekton-dashboard-556f559c99-4v9rk                    1/1     Running     0          14h
# tekton-pipelines-controller-5f9d6fbb65-c2kj6         1/1     Running     0          14h
# tekton-pipelines-webhook-5555c4b6cd-5ljtm            1/1     Running     0          14h
# tekton-triggers-controller-597fddd6f6-vw5t7          1/1     Running     0          14h
# tekton-triggers-core-interceptors-59767f99d6-rhp2l   1/1     Running     0          14h
# tekton-triggers-webhook-5bdfd74799-tkxcn             1/1     Running     0          14h
Check the installation result
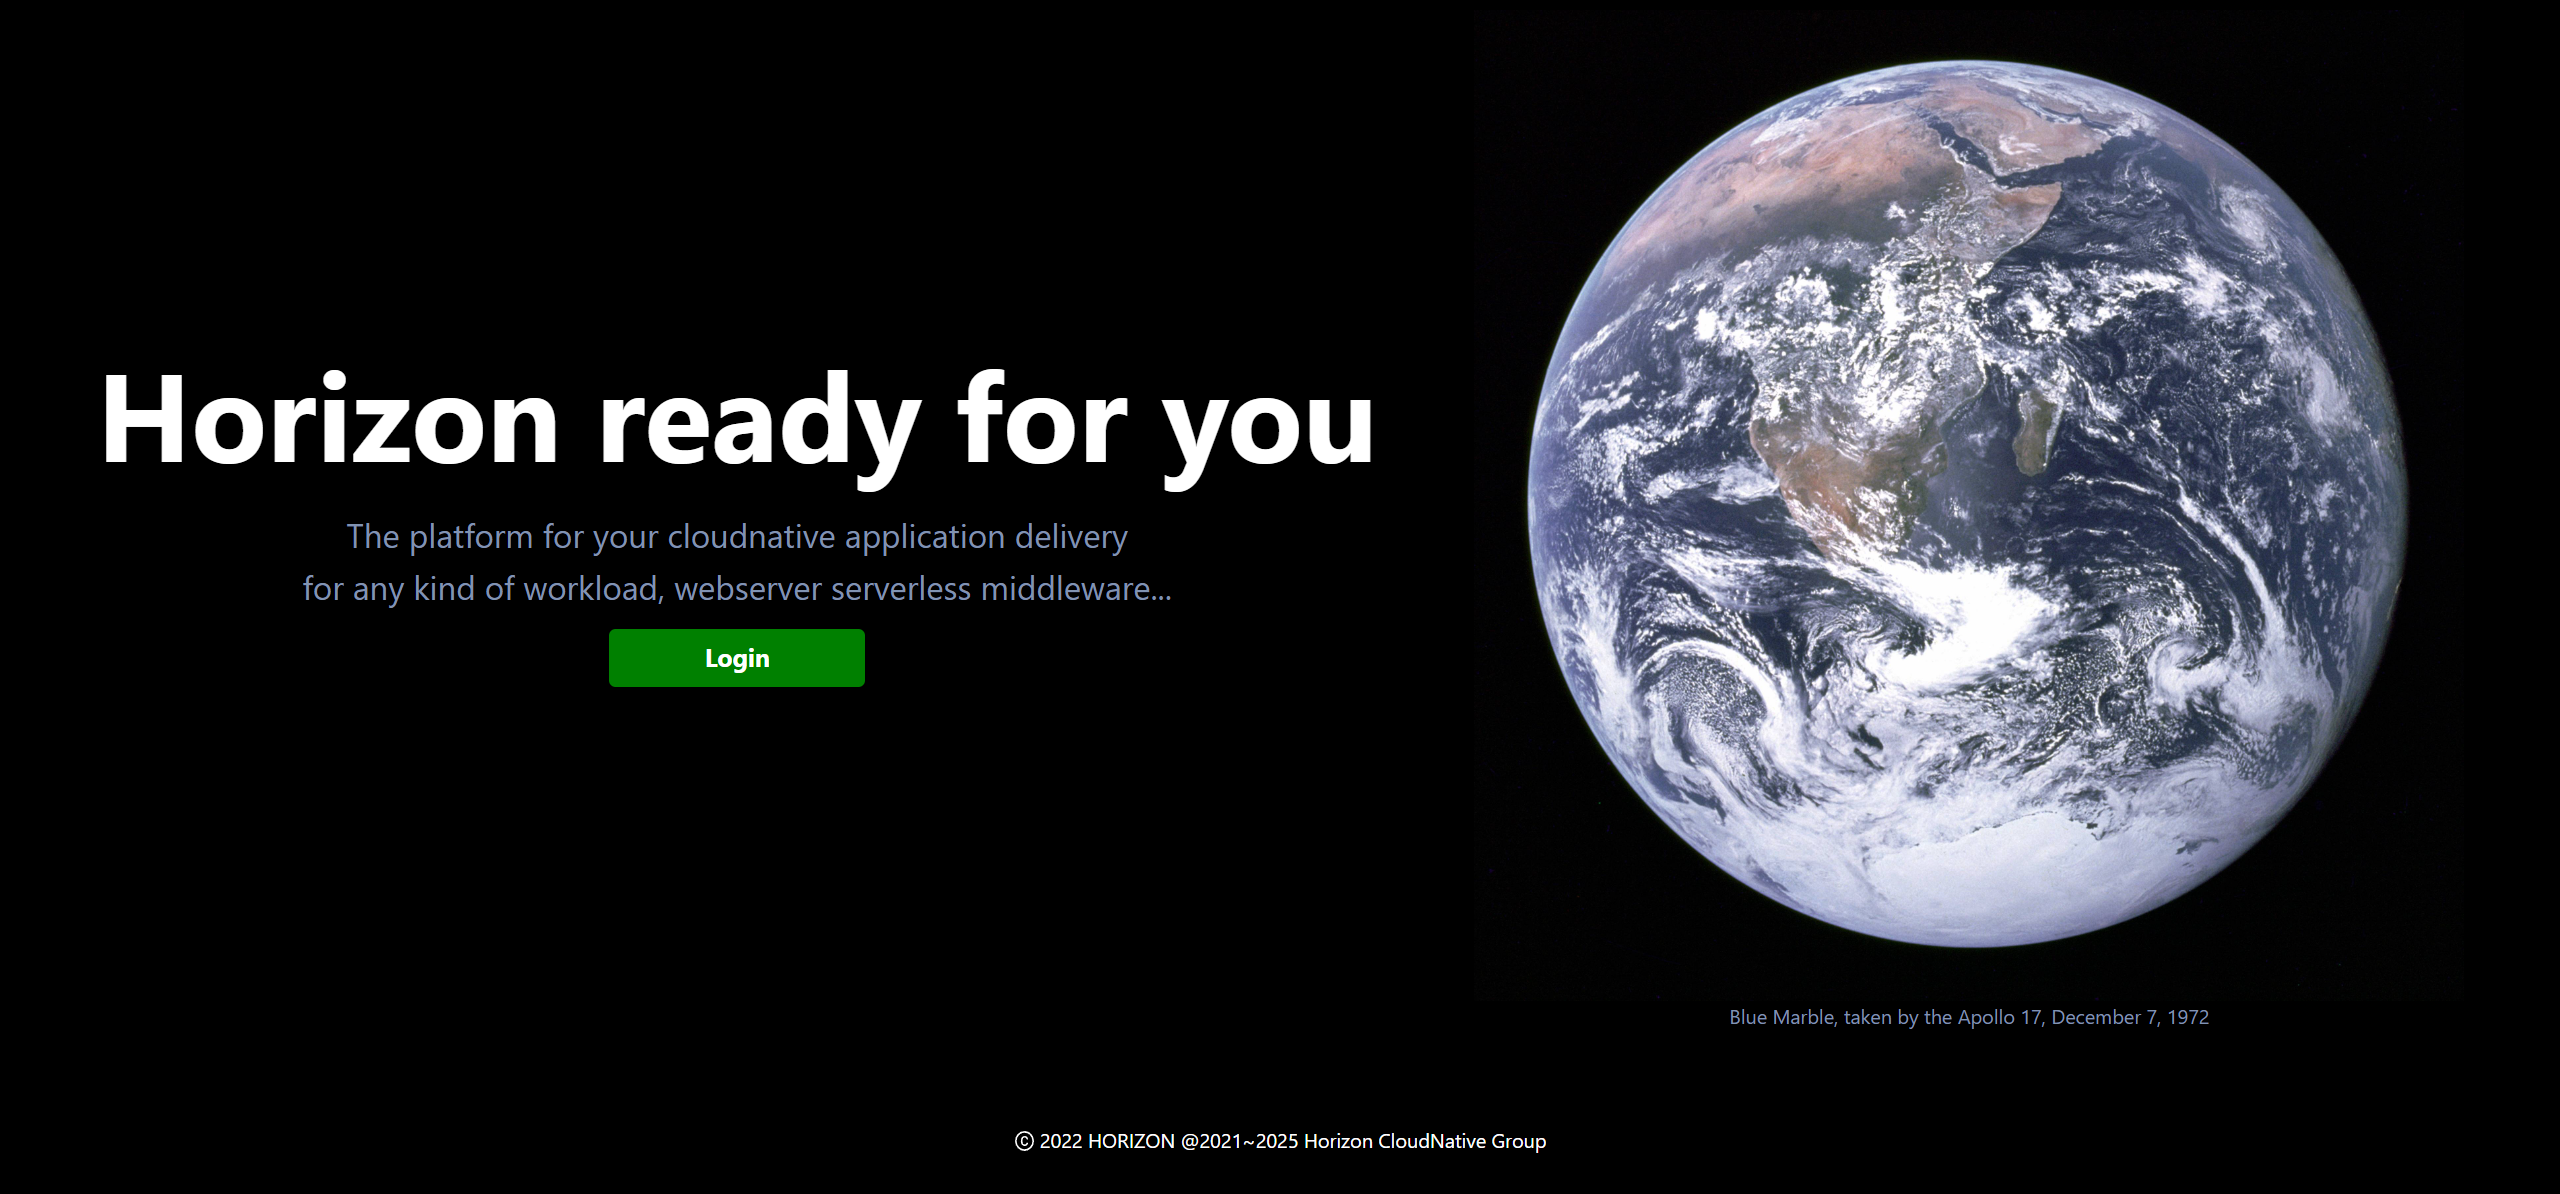
If everything goes well, you can enter Horizon by visiting the url: http://horizon.localtest.me, and you will see the page like below:
If you install by script, please see Create an application to explore more.
Or you can follow How to Deploy Your First Workload to experience this amazing system more closely.