How to deploy your first workload
This section describes how to deploy your first workload step by step. You can check out the demo video for an overview of Horizon CD.
Bilibili
YouTube
1. Login Horizon CD
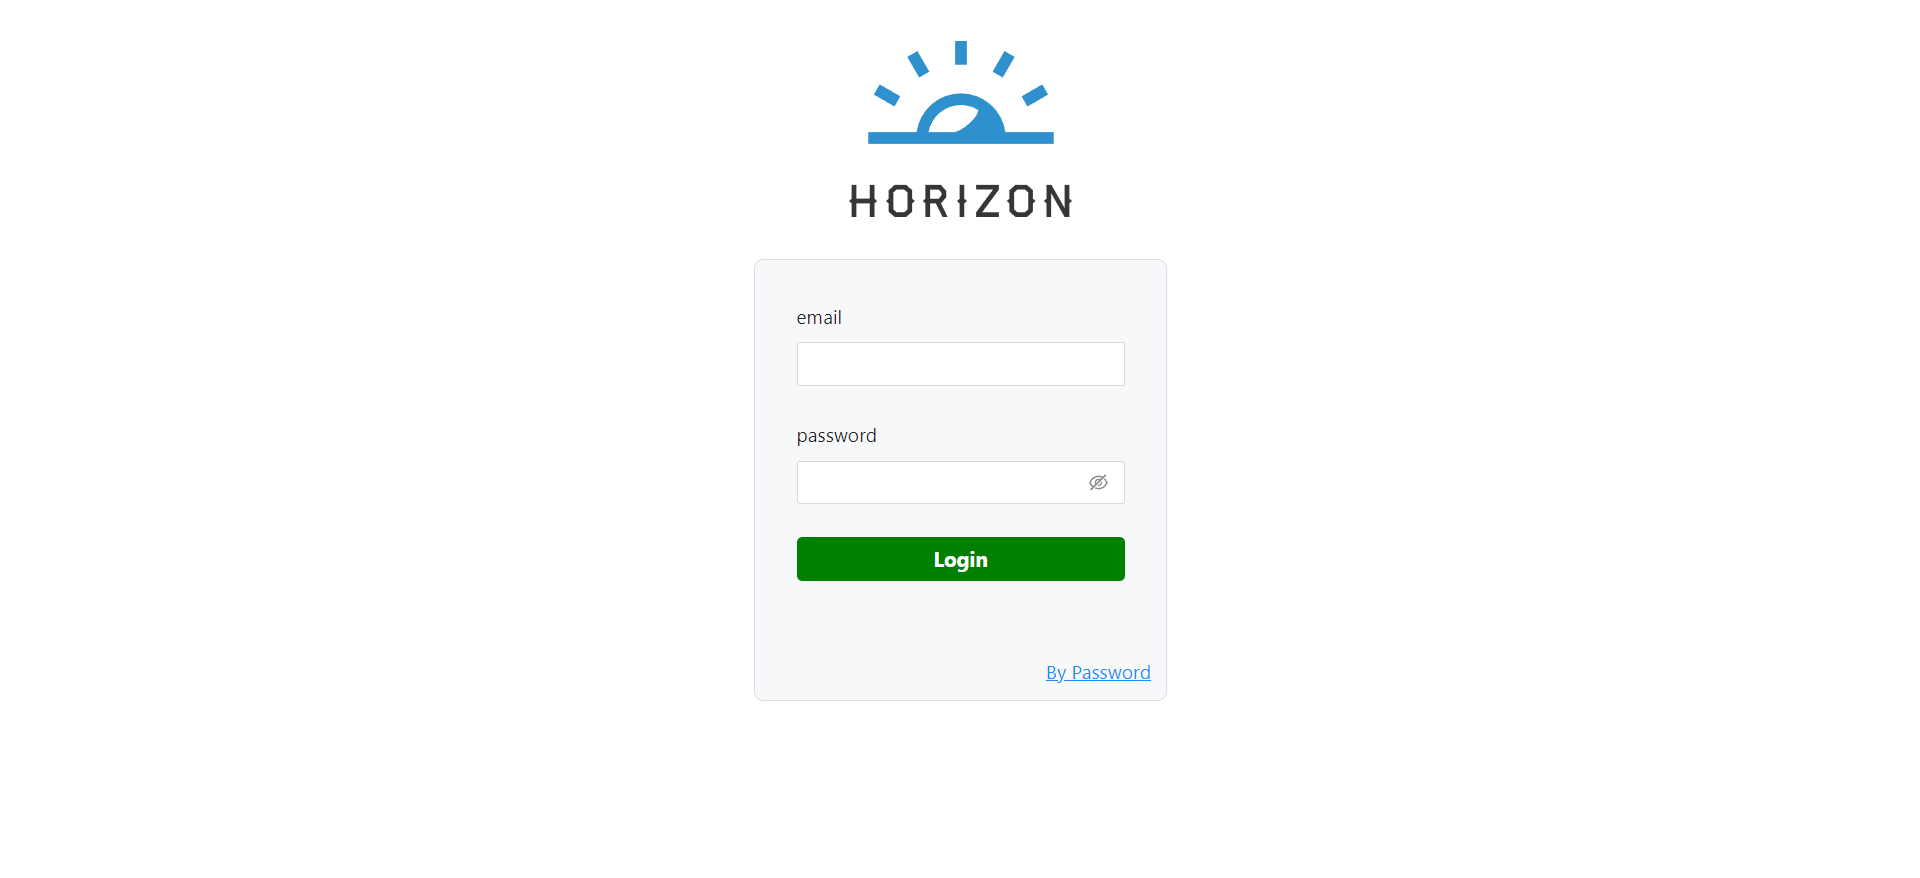
The initial password for the admin account is auto-generated when you perform the installation. Using the email admin@cloudnative.com and the password 123456, login to Horizon CD.
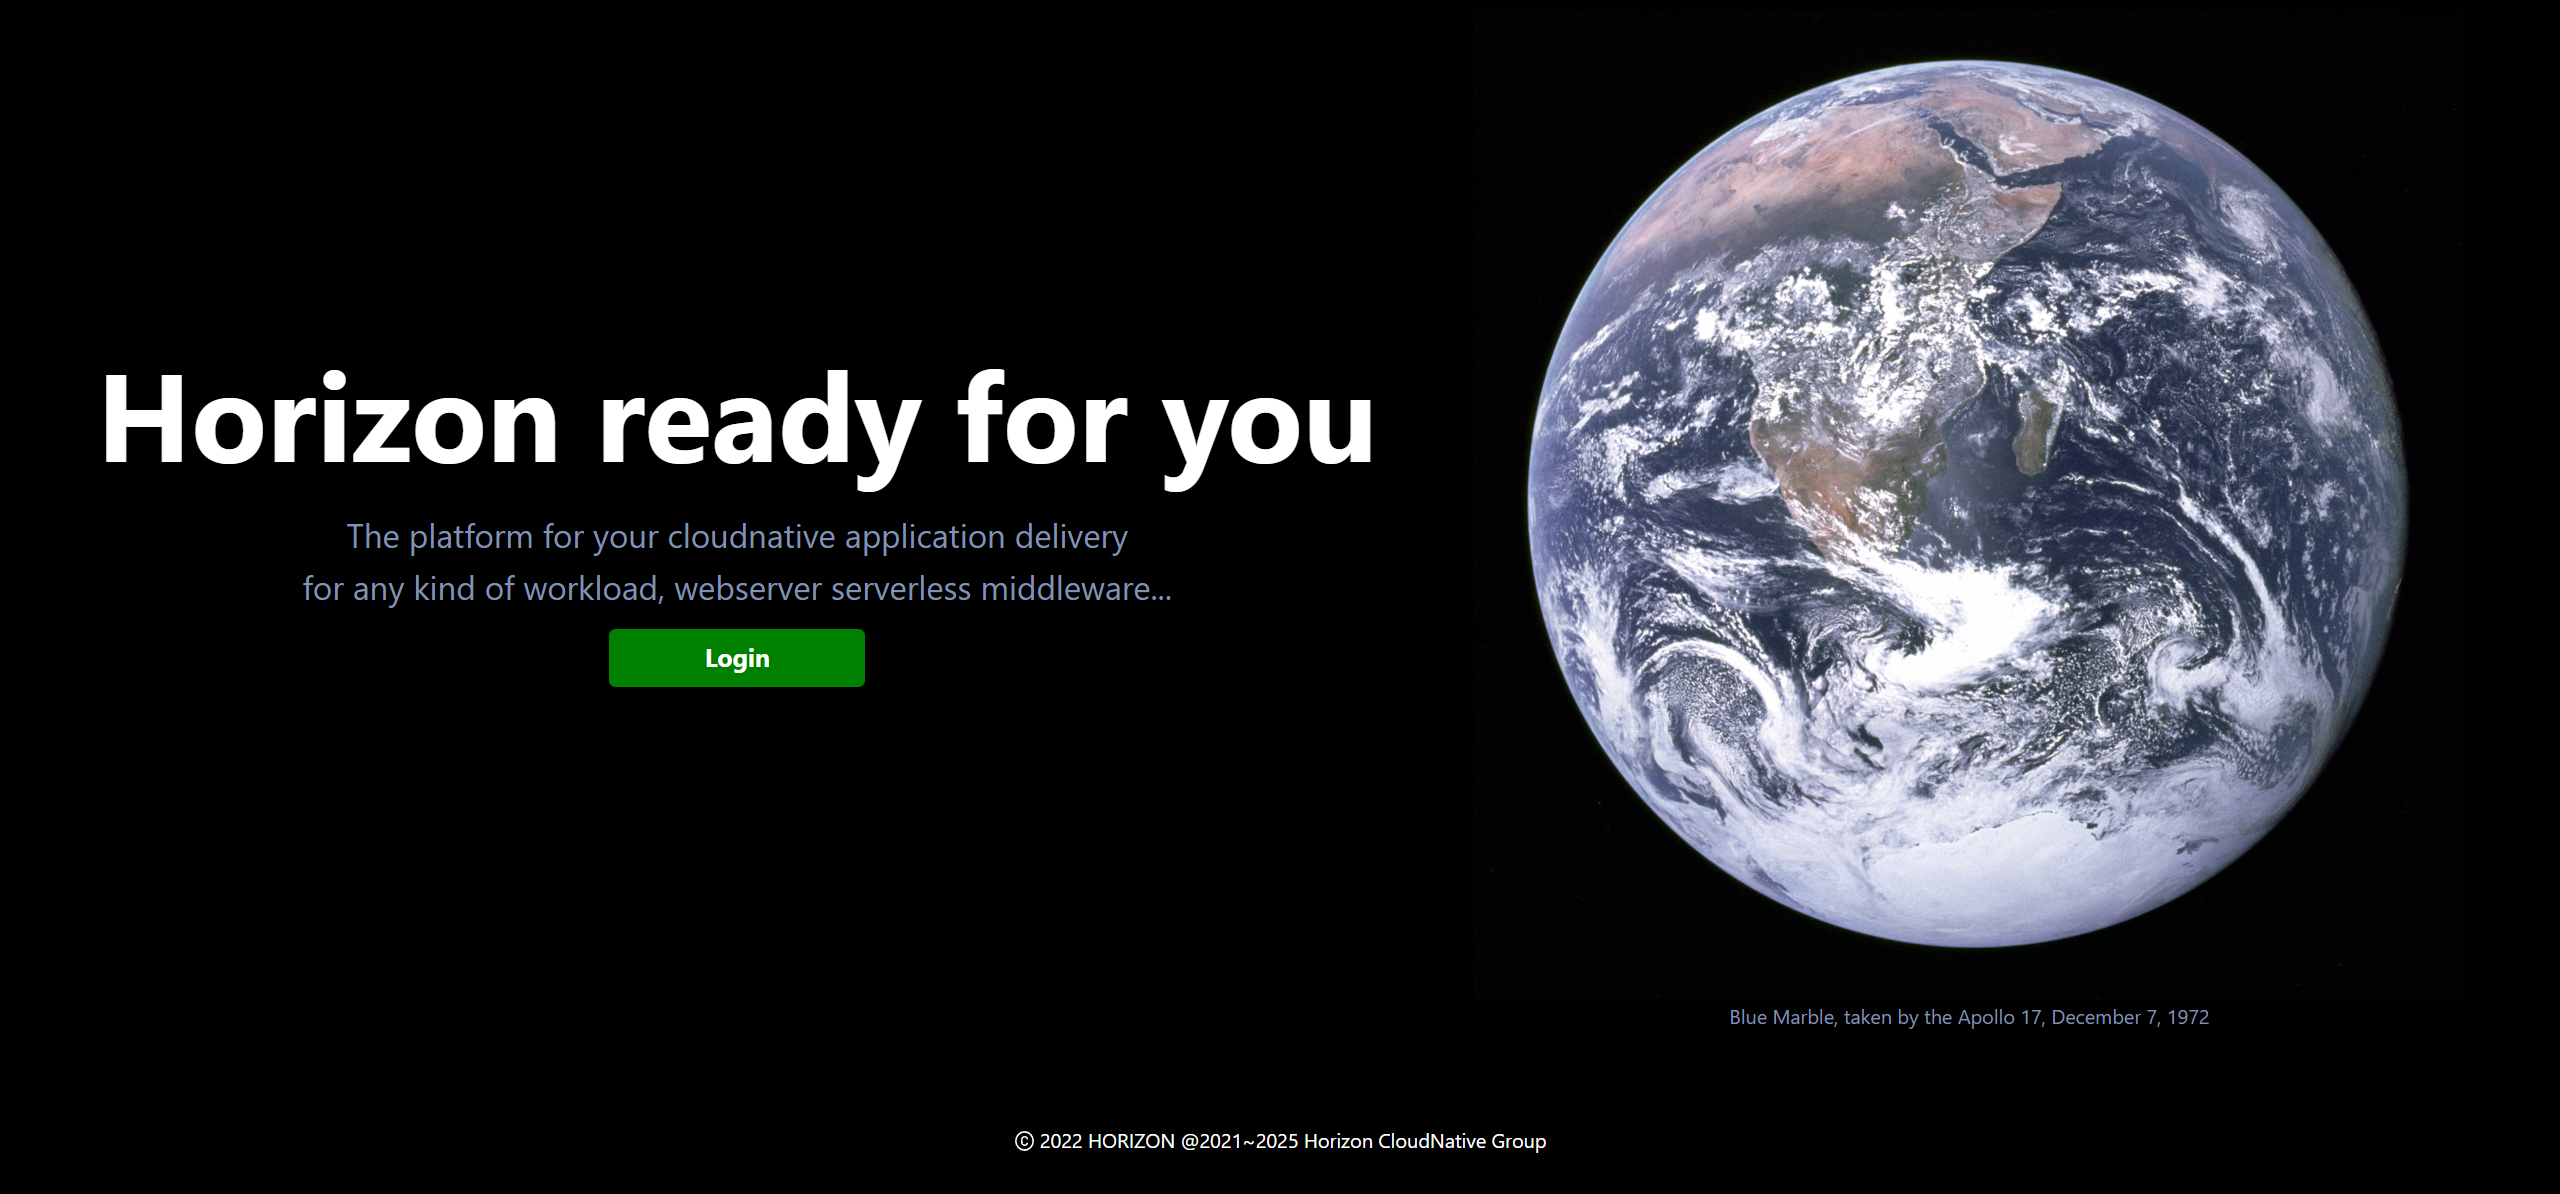
- Open Horizon CD's home page in your browser and click on Login.
- Enter the email and password to log in.
Now, you need create some required system resources to set up your devops platform.
2. Add a registry
- Click on the More option in the top of the home page and select Admin.
- Click on the Registries option in the left-side menu.
- Click Add registry to enter the page below. Fill in the registry information below and click Submit to add it.
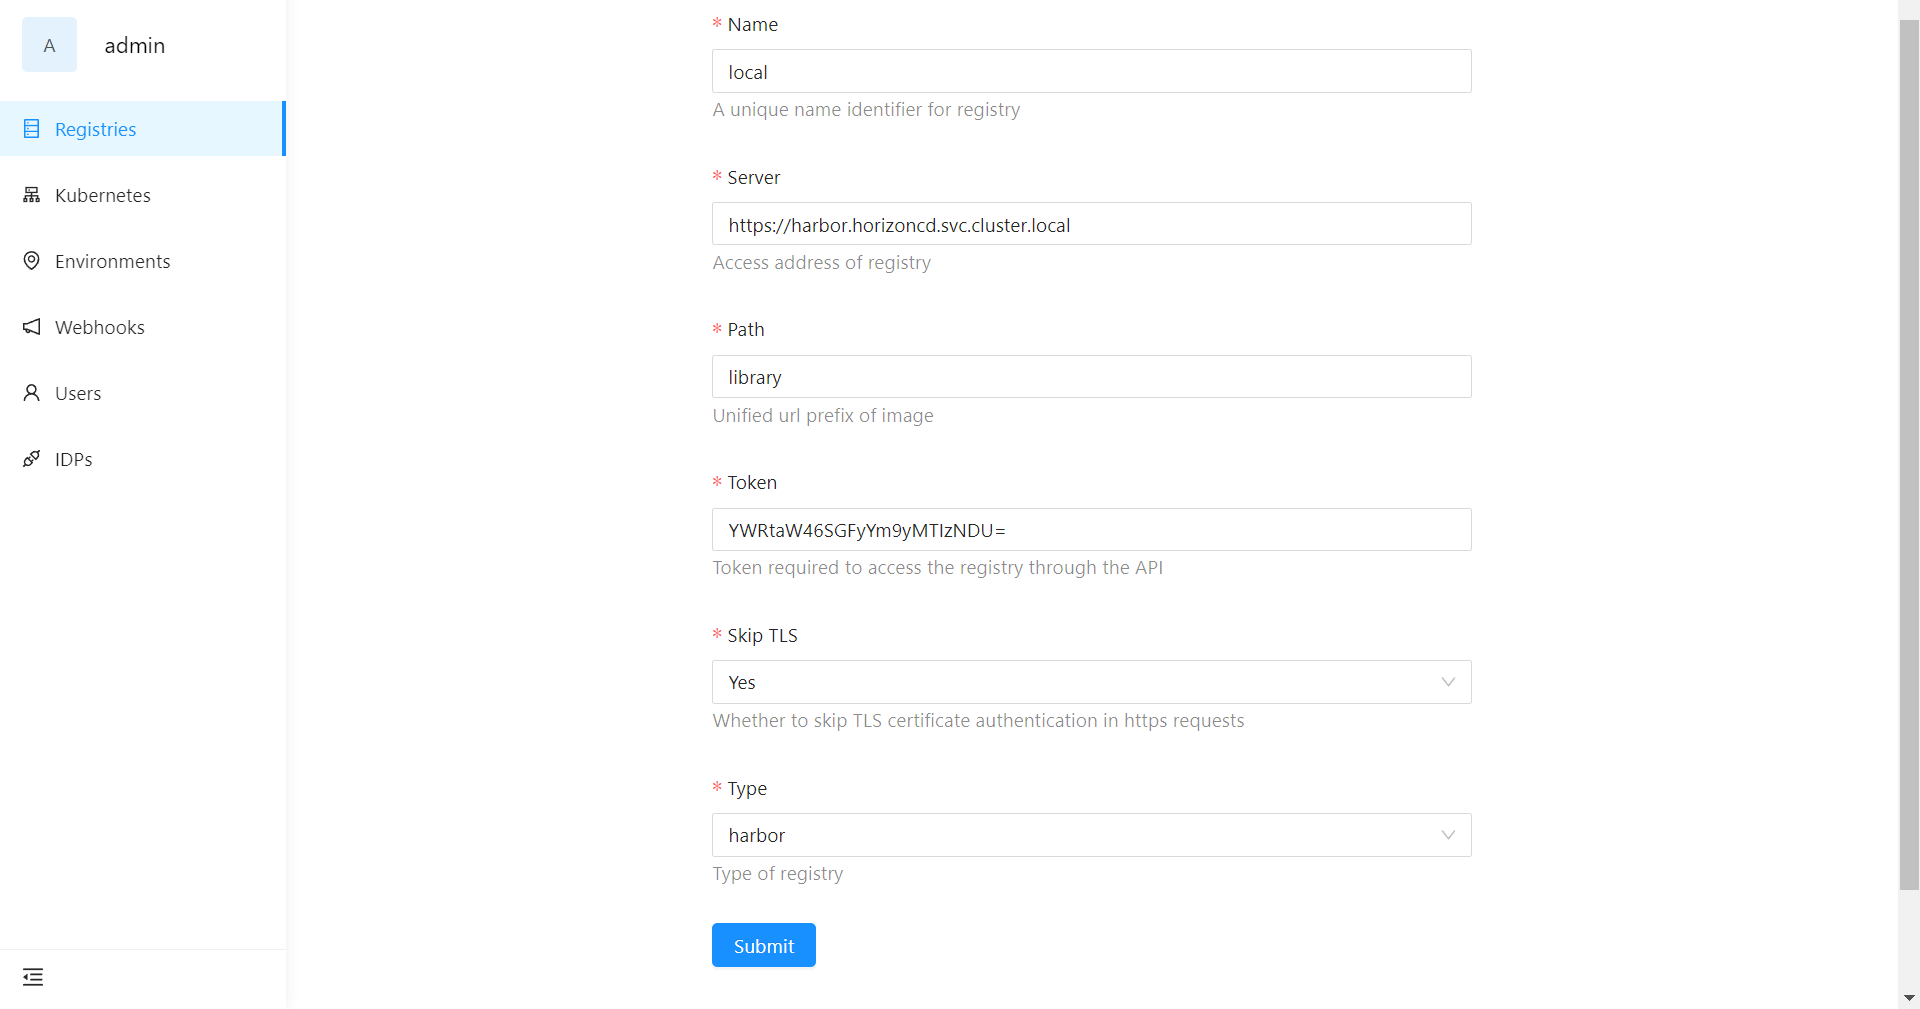
The configurations are as follows:
| Name | local |
|---|---|
| Server | https://harbor.horizoncd.svc.cluster.local |
| Path | library |
| Token | YWRtaW46SGFyYm9yMTIzNDU= |
| Skip TLS | Yes |
| Type | harbor |
3. Add a kubernetes cluster
Click on the More option in the top of the home page and select Admin.
Click on the Kubernetes option in the left-side menu.
Click Add kubernetes to enter the page below.
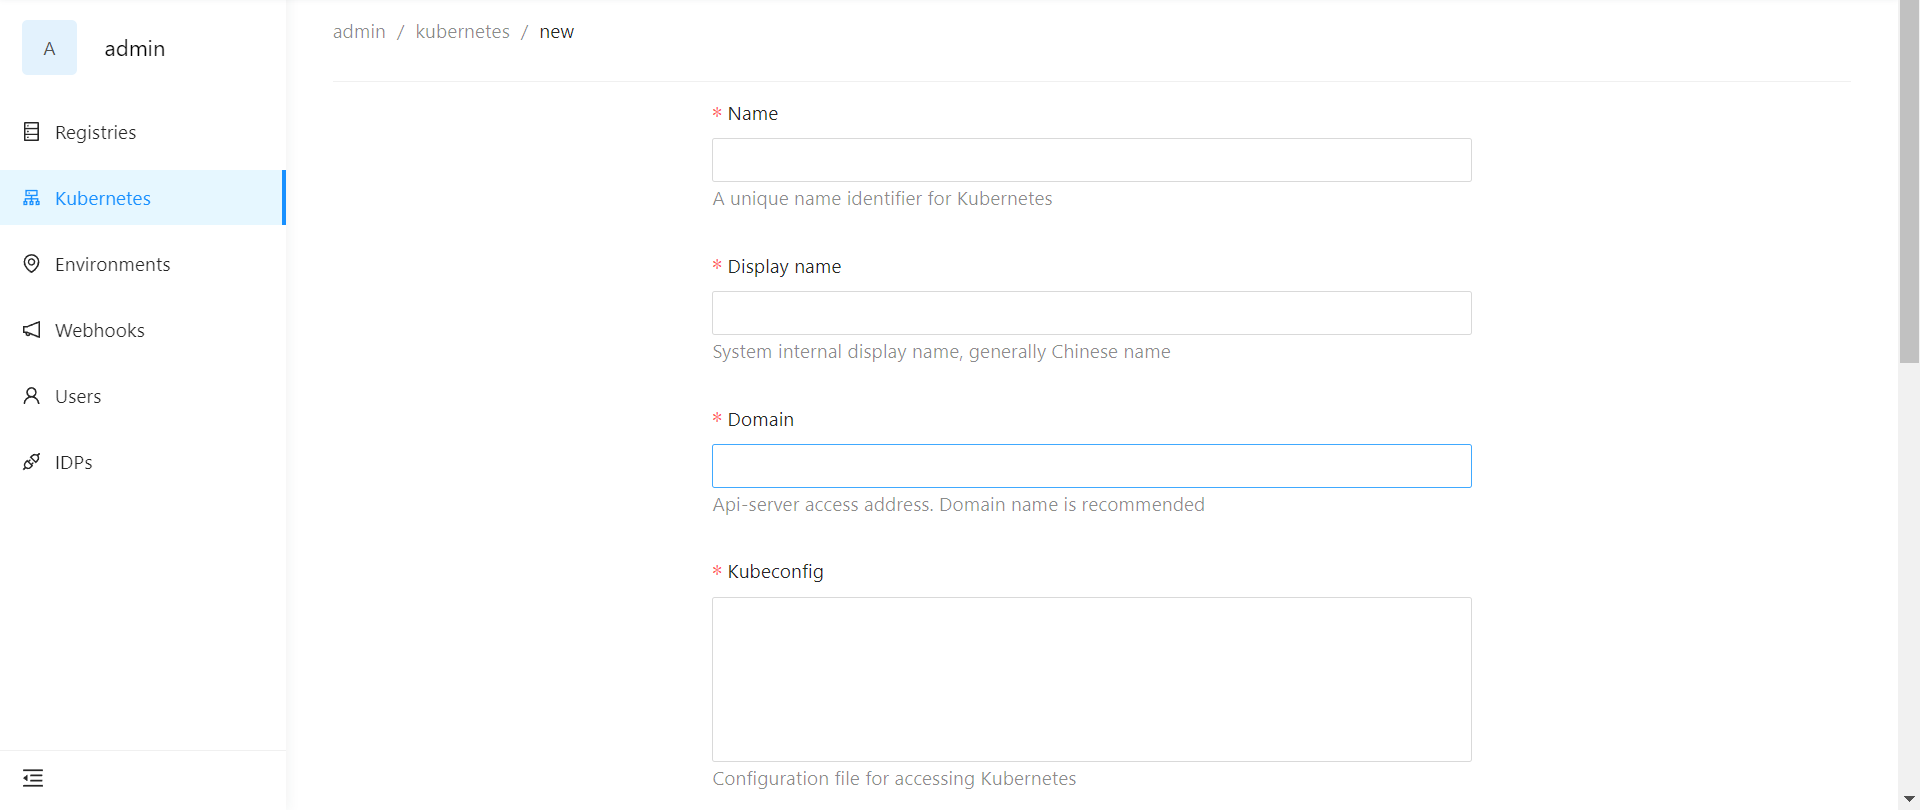 tip
tipThe value of
Domainfield will be https://kubernetes.default.svc if you want to deploy the workloads on your local K8s. If yourkubernetesis deployed byKind, docker login kind node to get the kubeconfig, the kubeconfig is under kind node's filesystem, file location:/etc/kubernetes/admin.conf.Fill in your kubernetes information and click Submit to add it.
Then, enter your kubernetes page, click Add tags to add a specific tag which is used to link your group and kubernetes. For example:
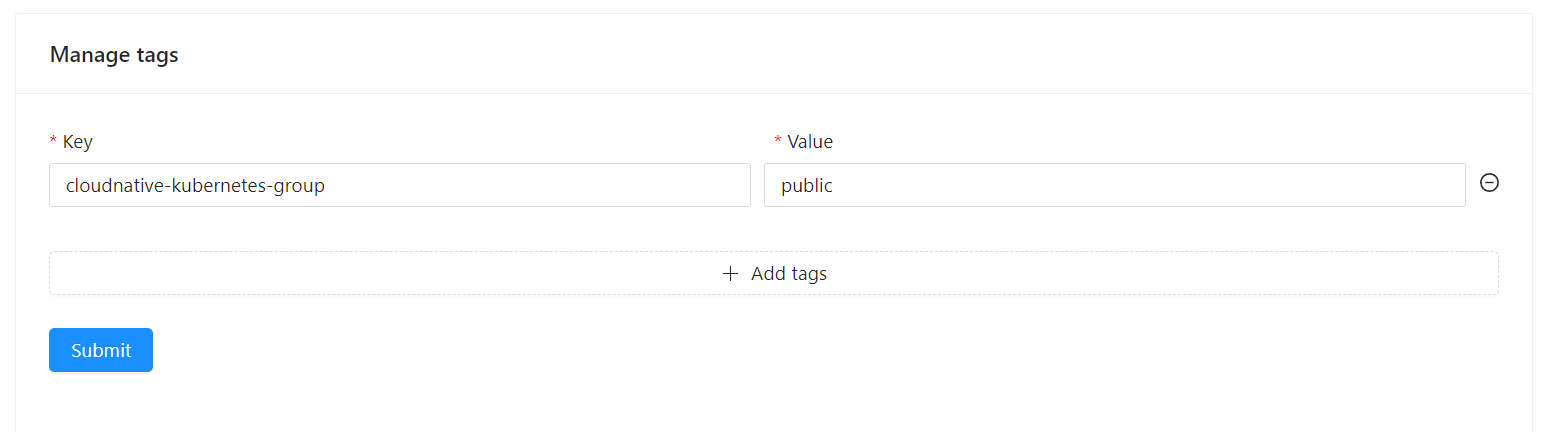
Click Submit to add the tag.
4. Create an environment
- Click on the More option in the top of the home page and select Admin.
- Click on the Environments option in the left-side menu.
- Click New environment to enter the creation page.
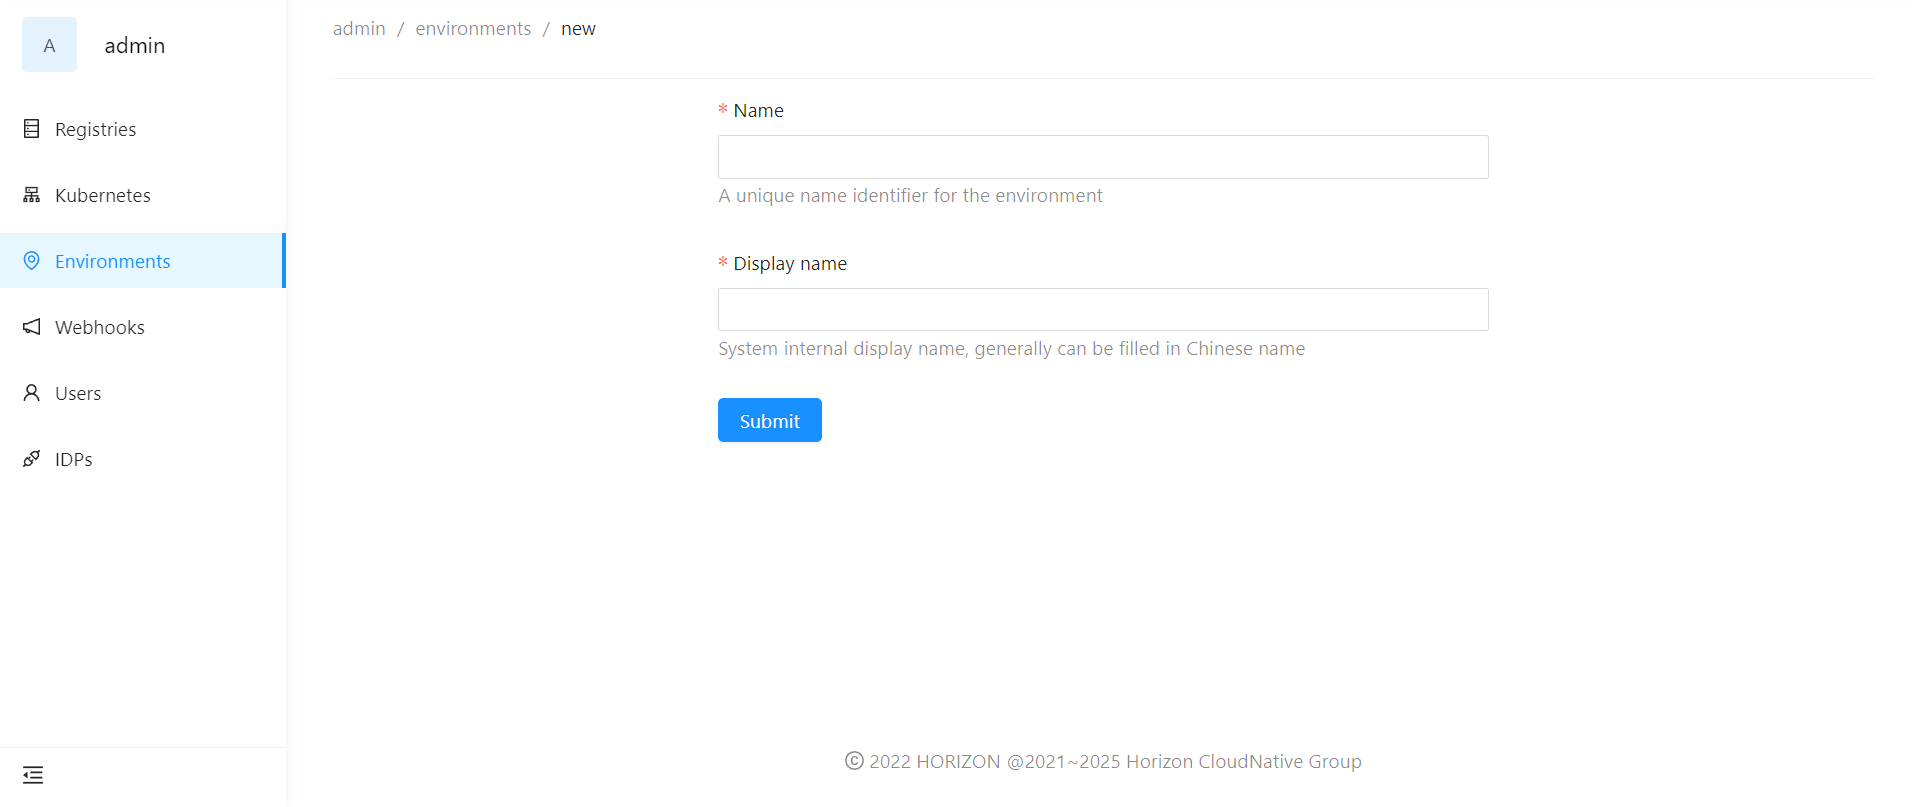
- Fill in your kubernetes information and click Submit to create the environment.
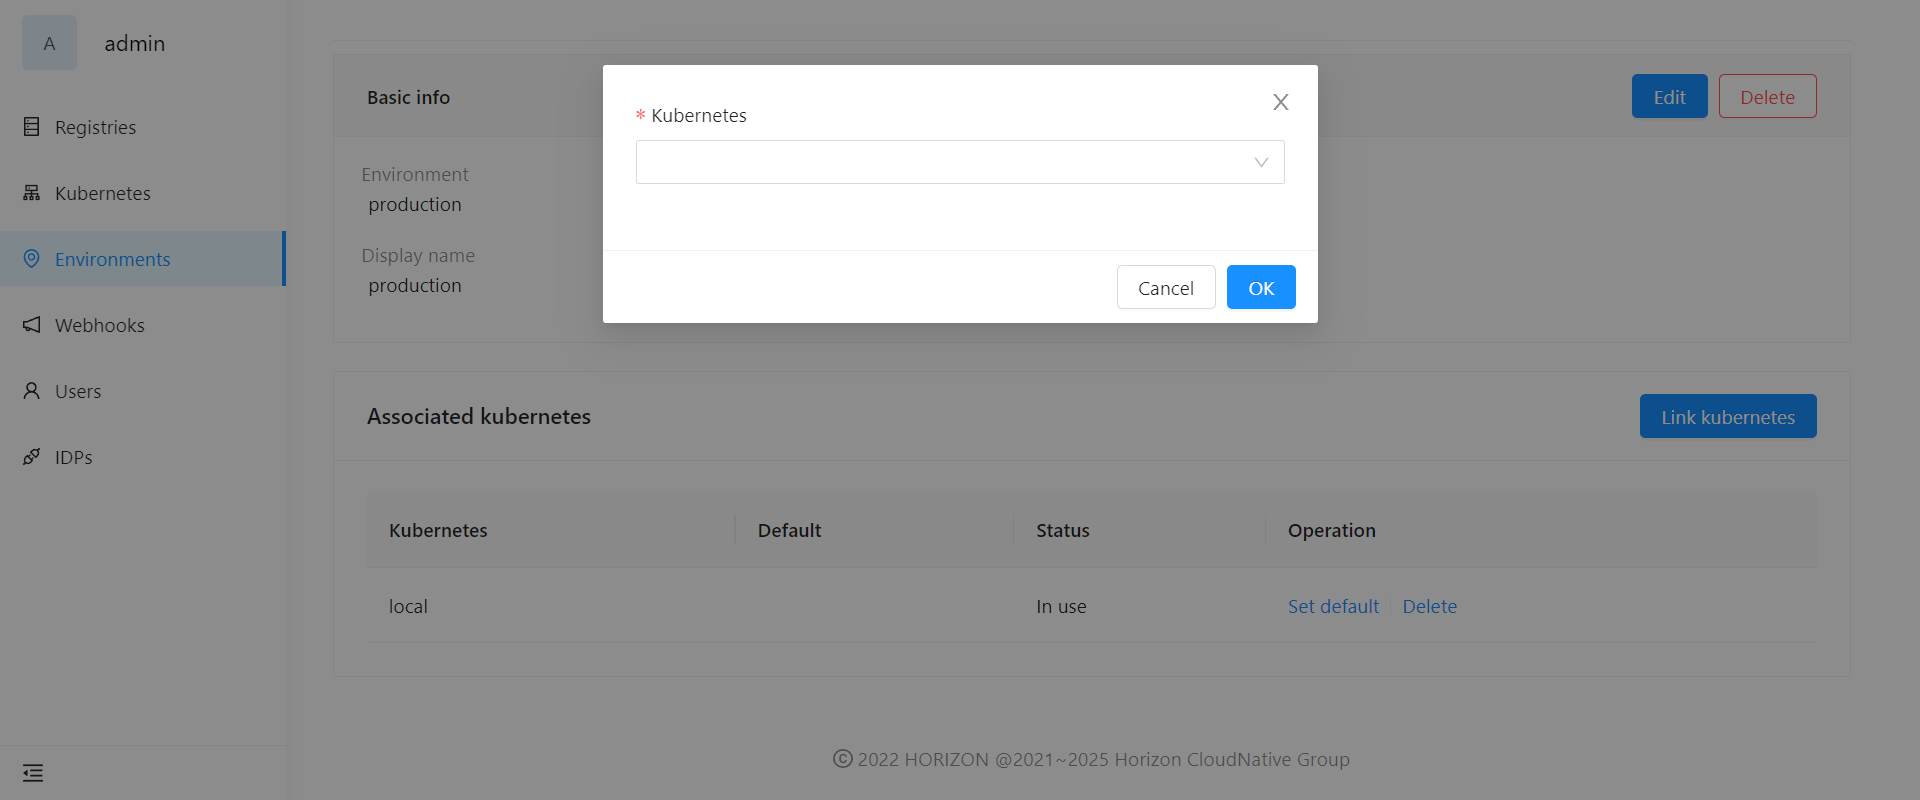
- Finally, enter your environment page, click Link kubernetes to link the kubernetes you just added.
5. Create a template
A template is required to hold build and deploy configurations of your applications. Now, let's create a public template:
Click on the Templates tab in the top of the home page.
Select Public templates and click on New template in the top right corner of the page.
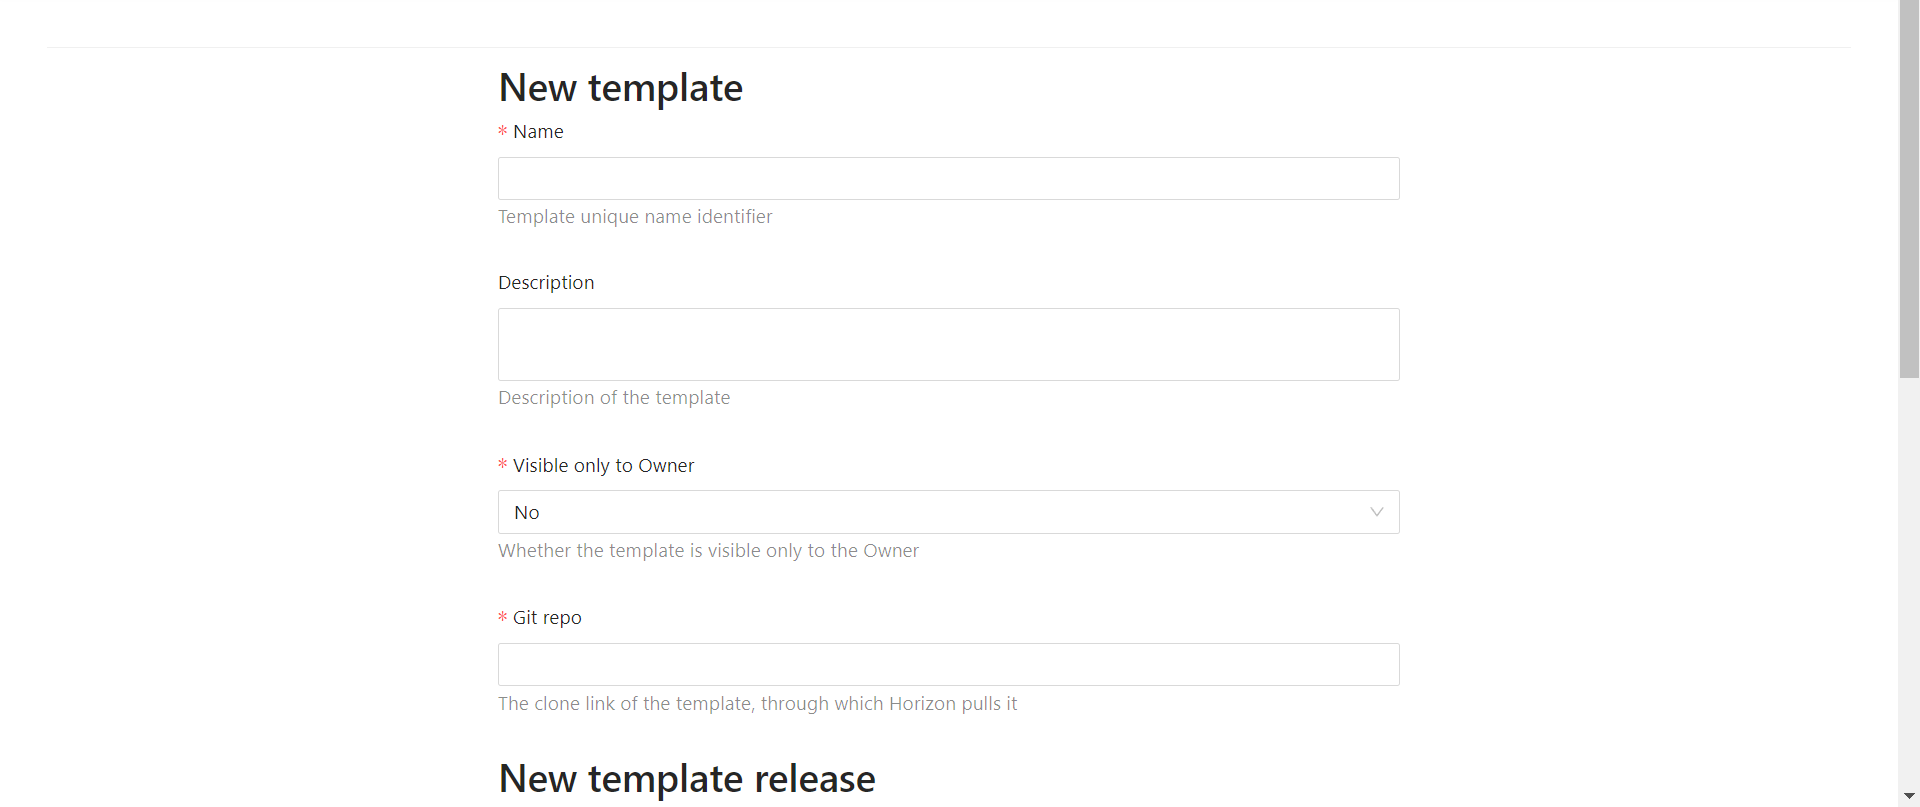
Enter the relevant information for the template.
Note that Git repo is the clone link of the template, through which Horizon pulls it. A sample template of deployment workload (https://github.com/horizoncd/deployment.git) is provided to you to deploy your first workload. You can use it as shown below:
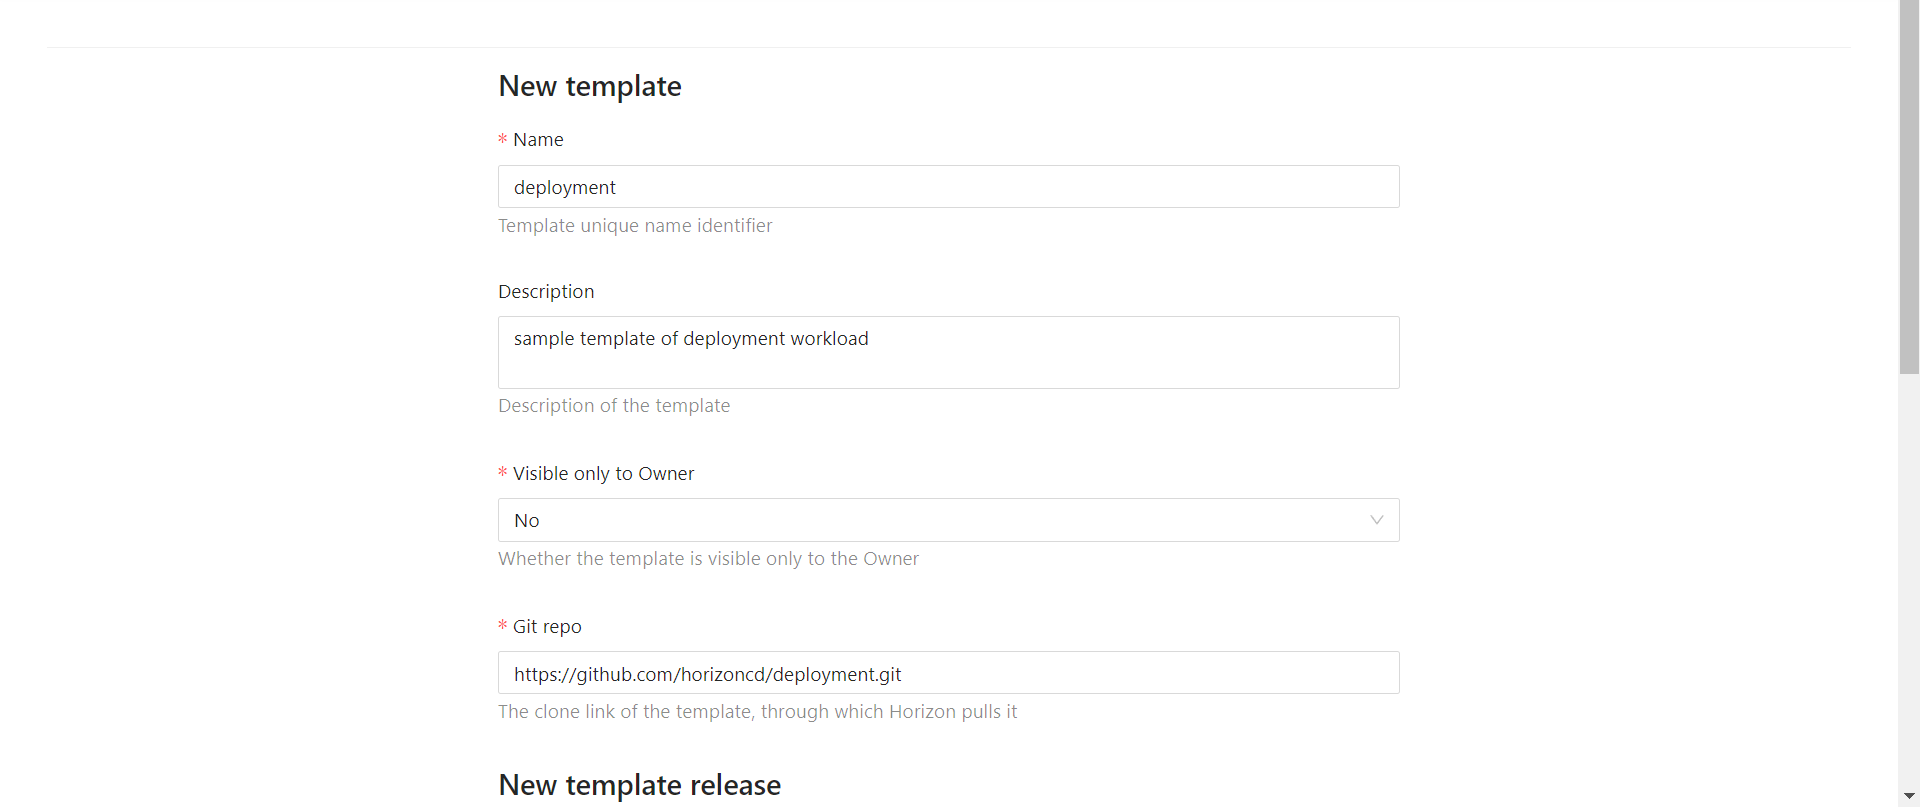
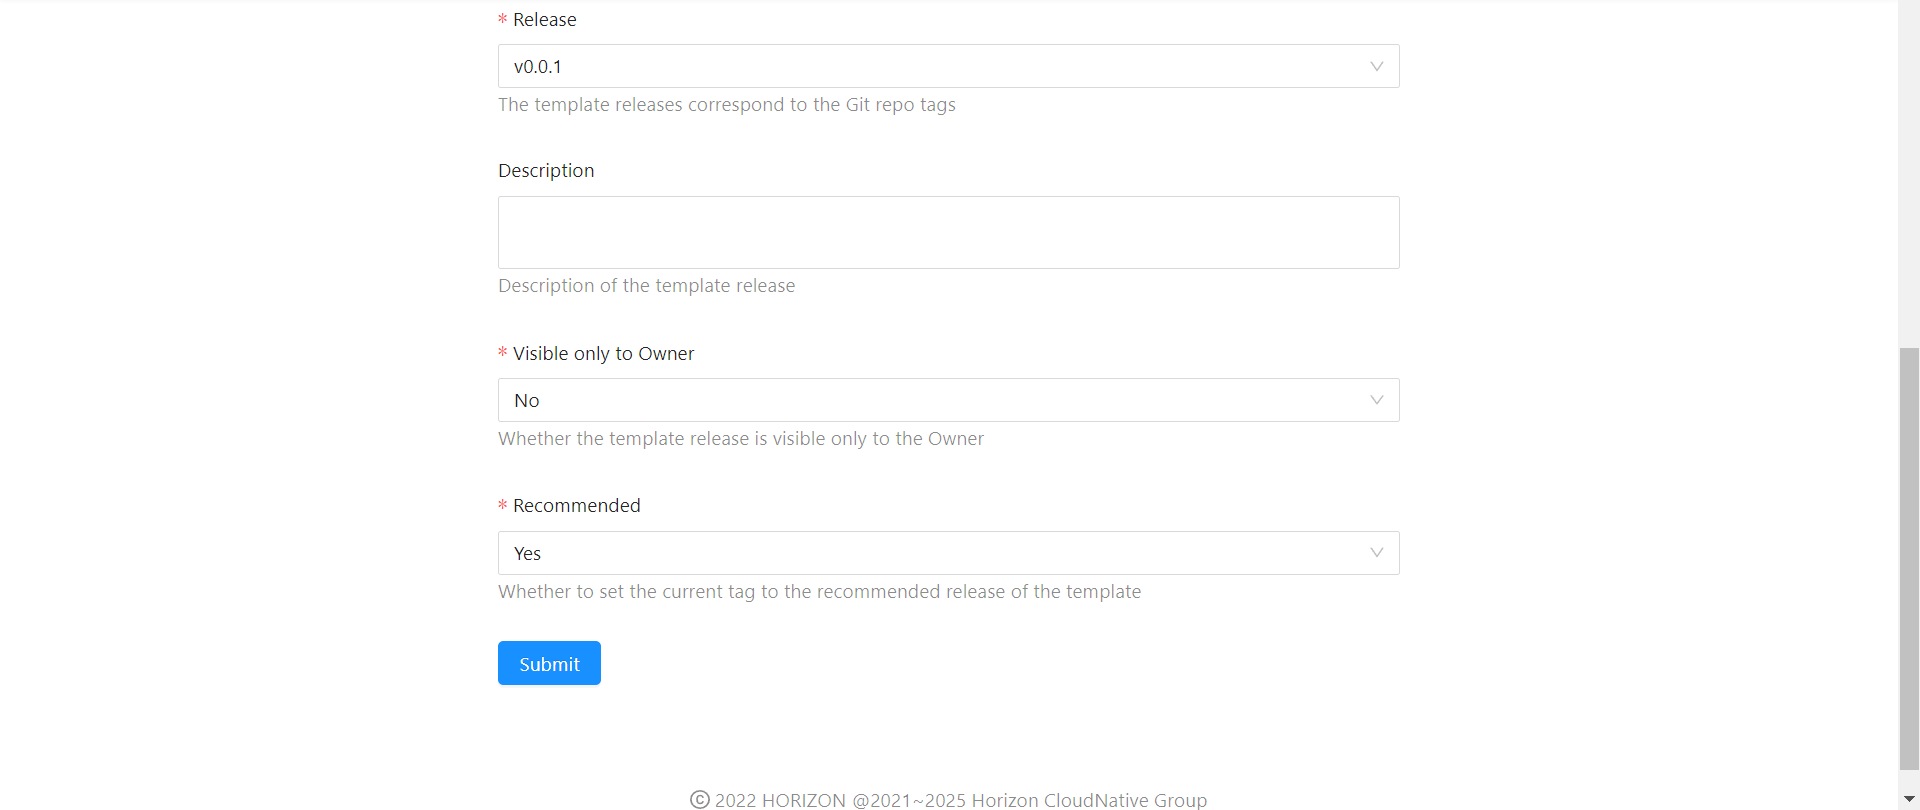
Click on Submit.
6. Create a group
Now create and administer a new group:
- Click on the Groups tab in the top of the home page.
- Click New group to create you own group.
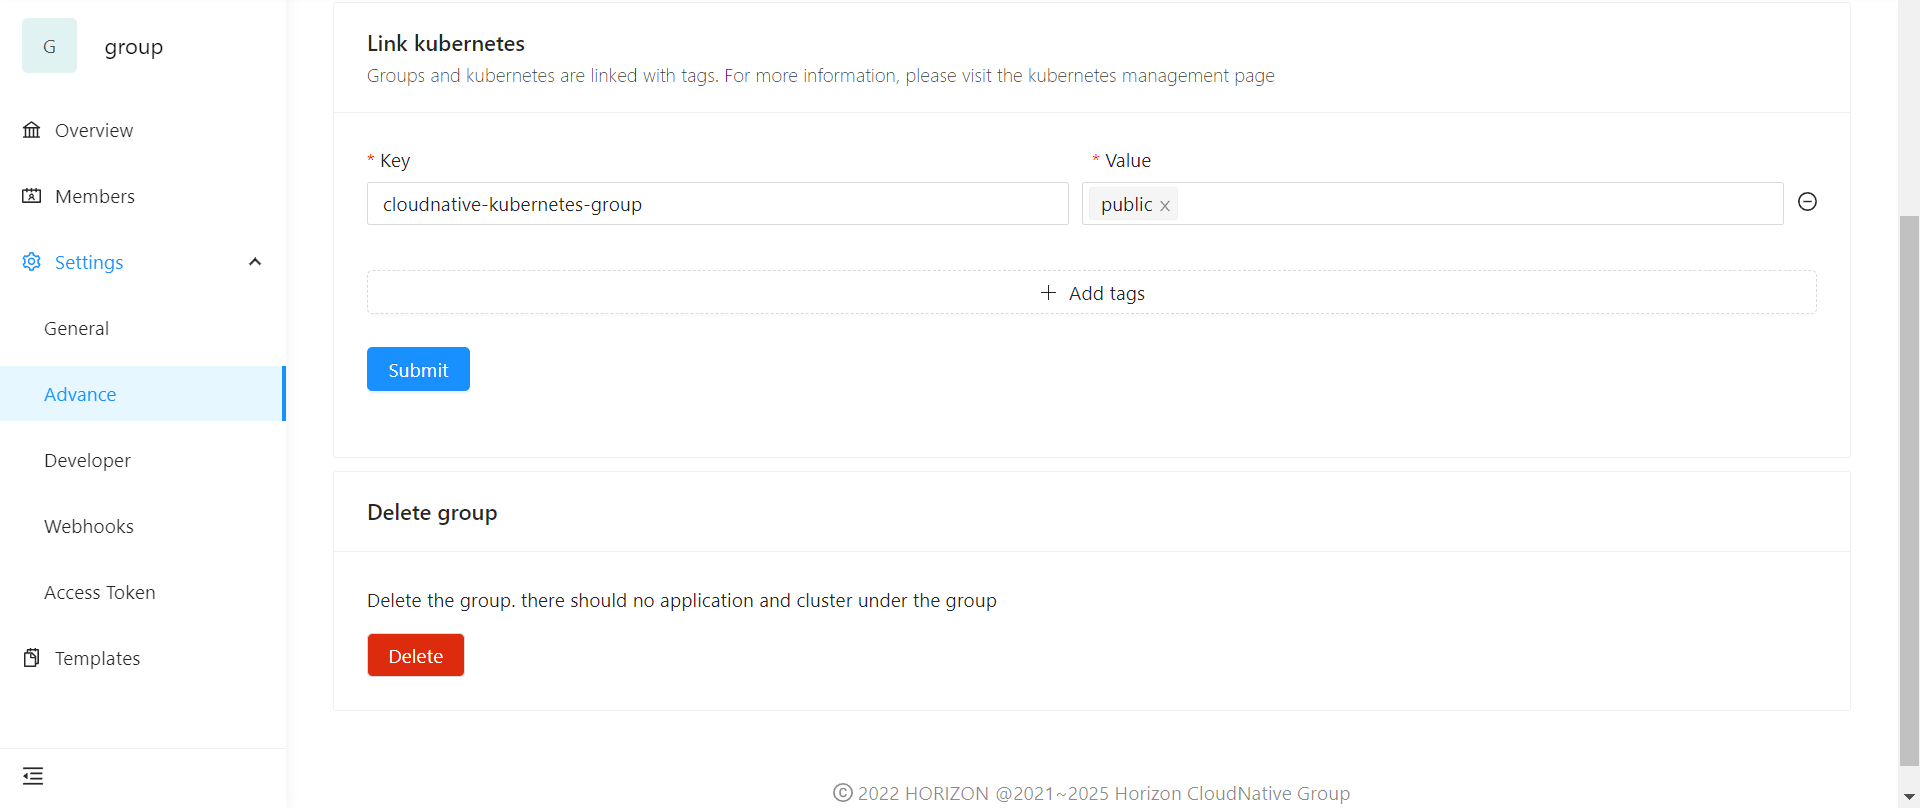
- Groups need bound kubernetes which is used to deploy your applications by tags. Now, link kubernetes resources to your new group:
- Enter your group page, click on Settings in the left sidebar and select Advance.
- click on Add tags and fill in the tag your kubernetes holds.
7. Create an application
From the group page, click New application button to start to create a new application.
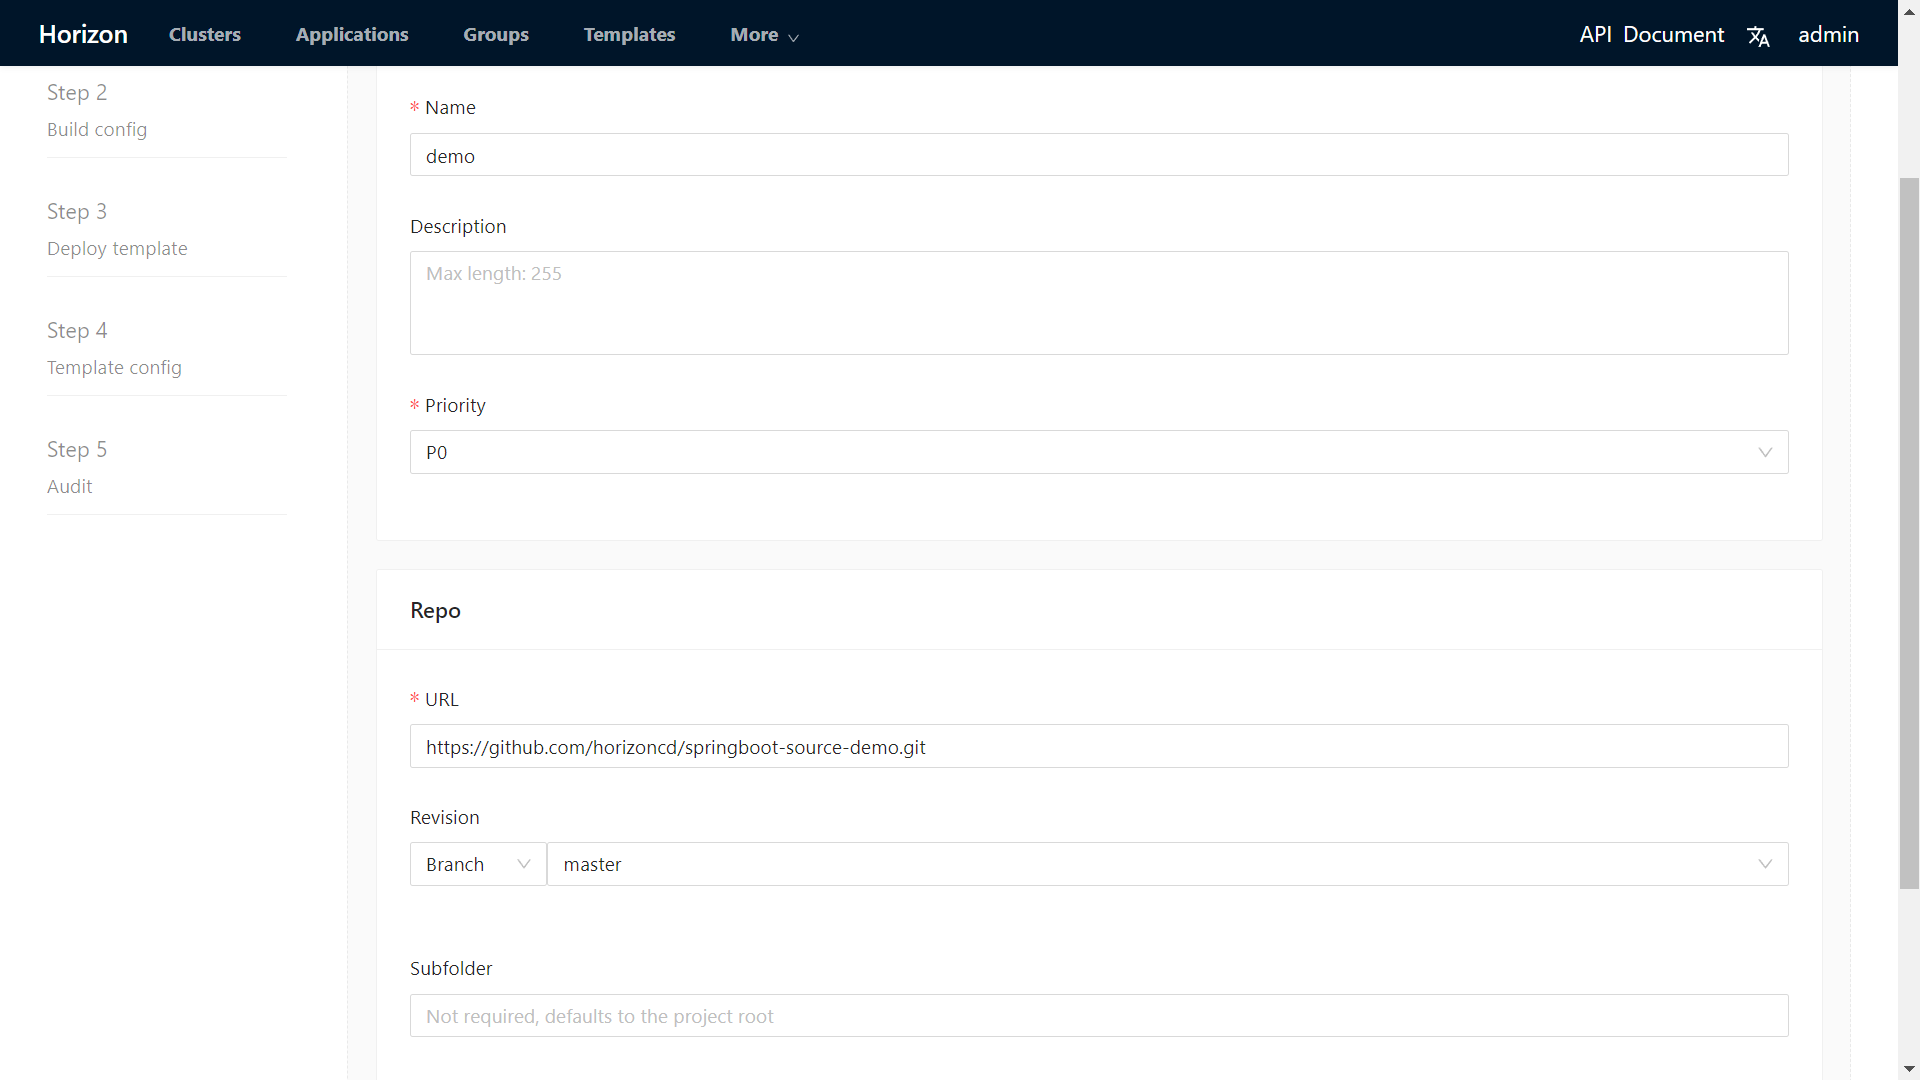
Fill some basic information of your application and click Next.
A sample application git repository (https://github.com/horizoncd/springboot-source-demo.git) is provided. You can use it as shown below:
Select dockerfile build type and fill
Dockerfilein dockerfile path. Then click Next.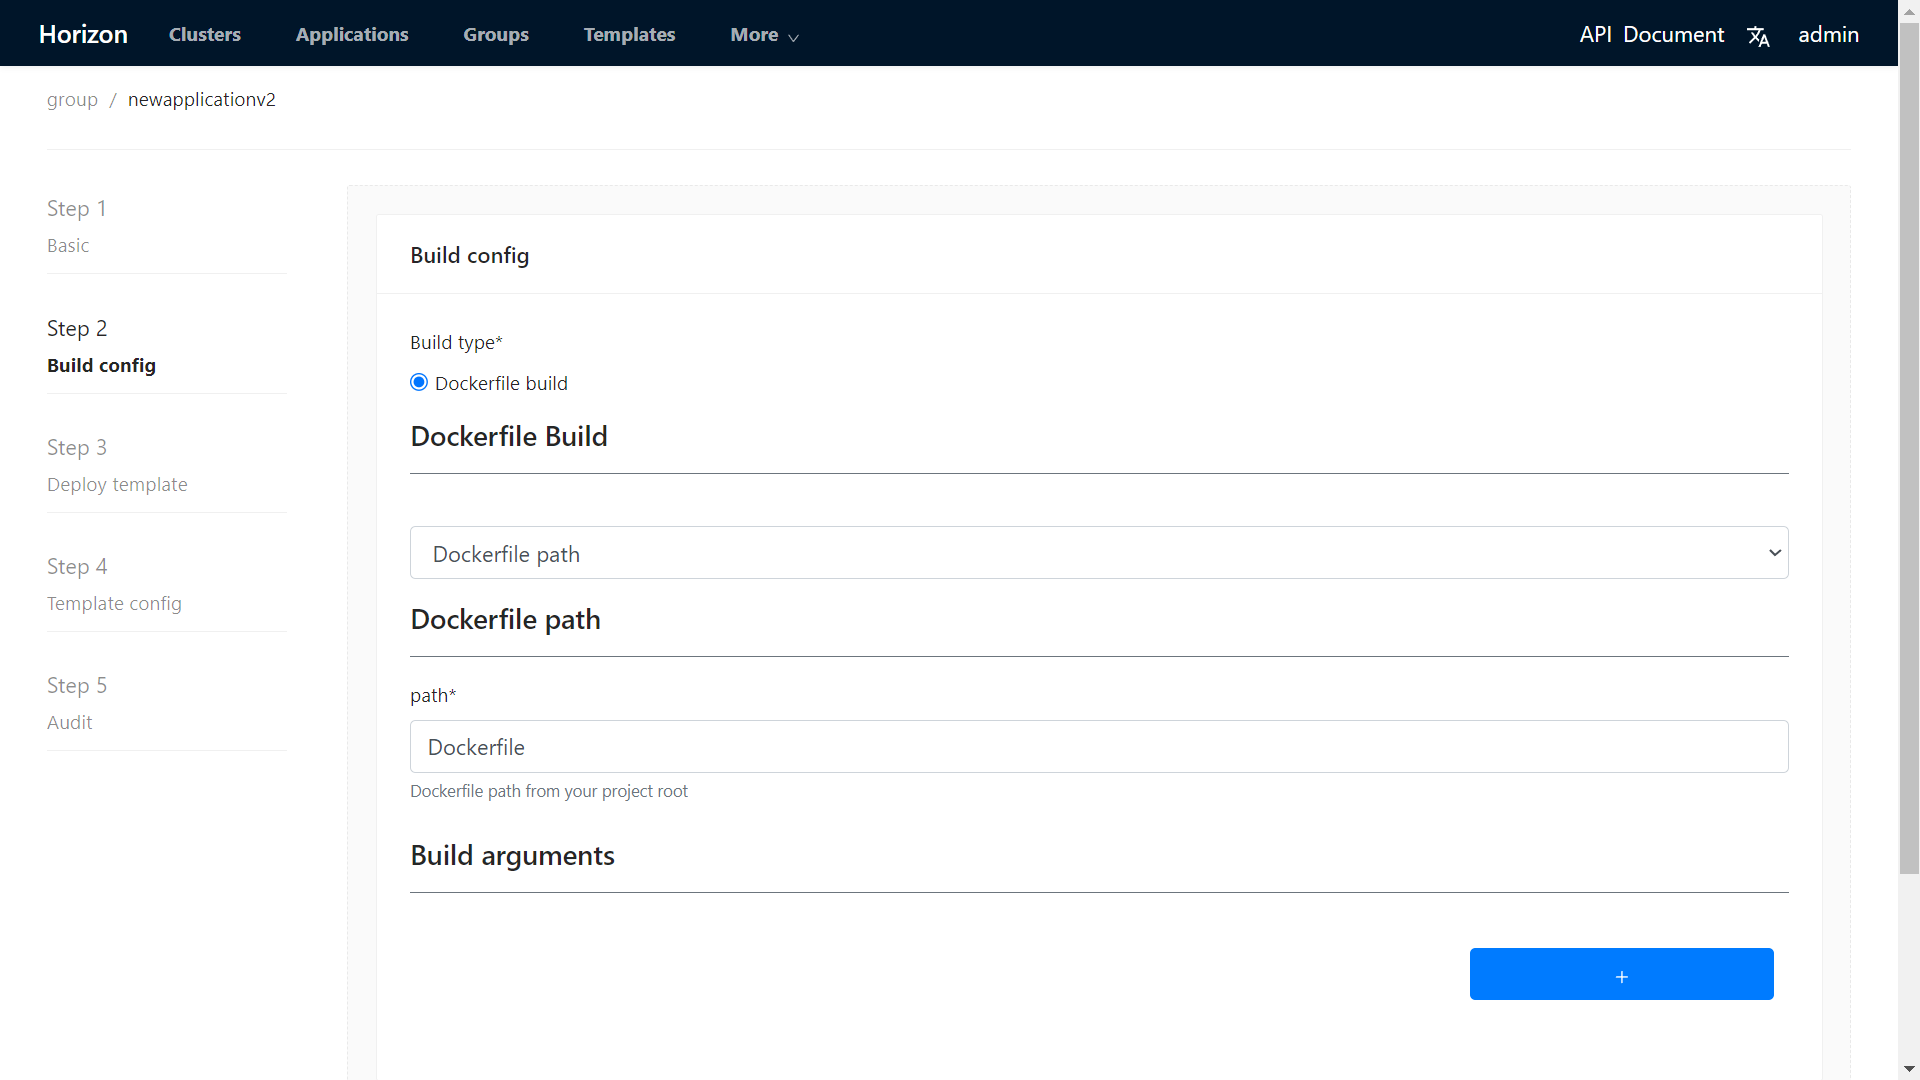
Select your template and fill your deploy configurations.
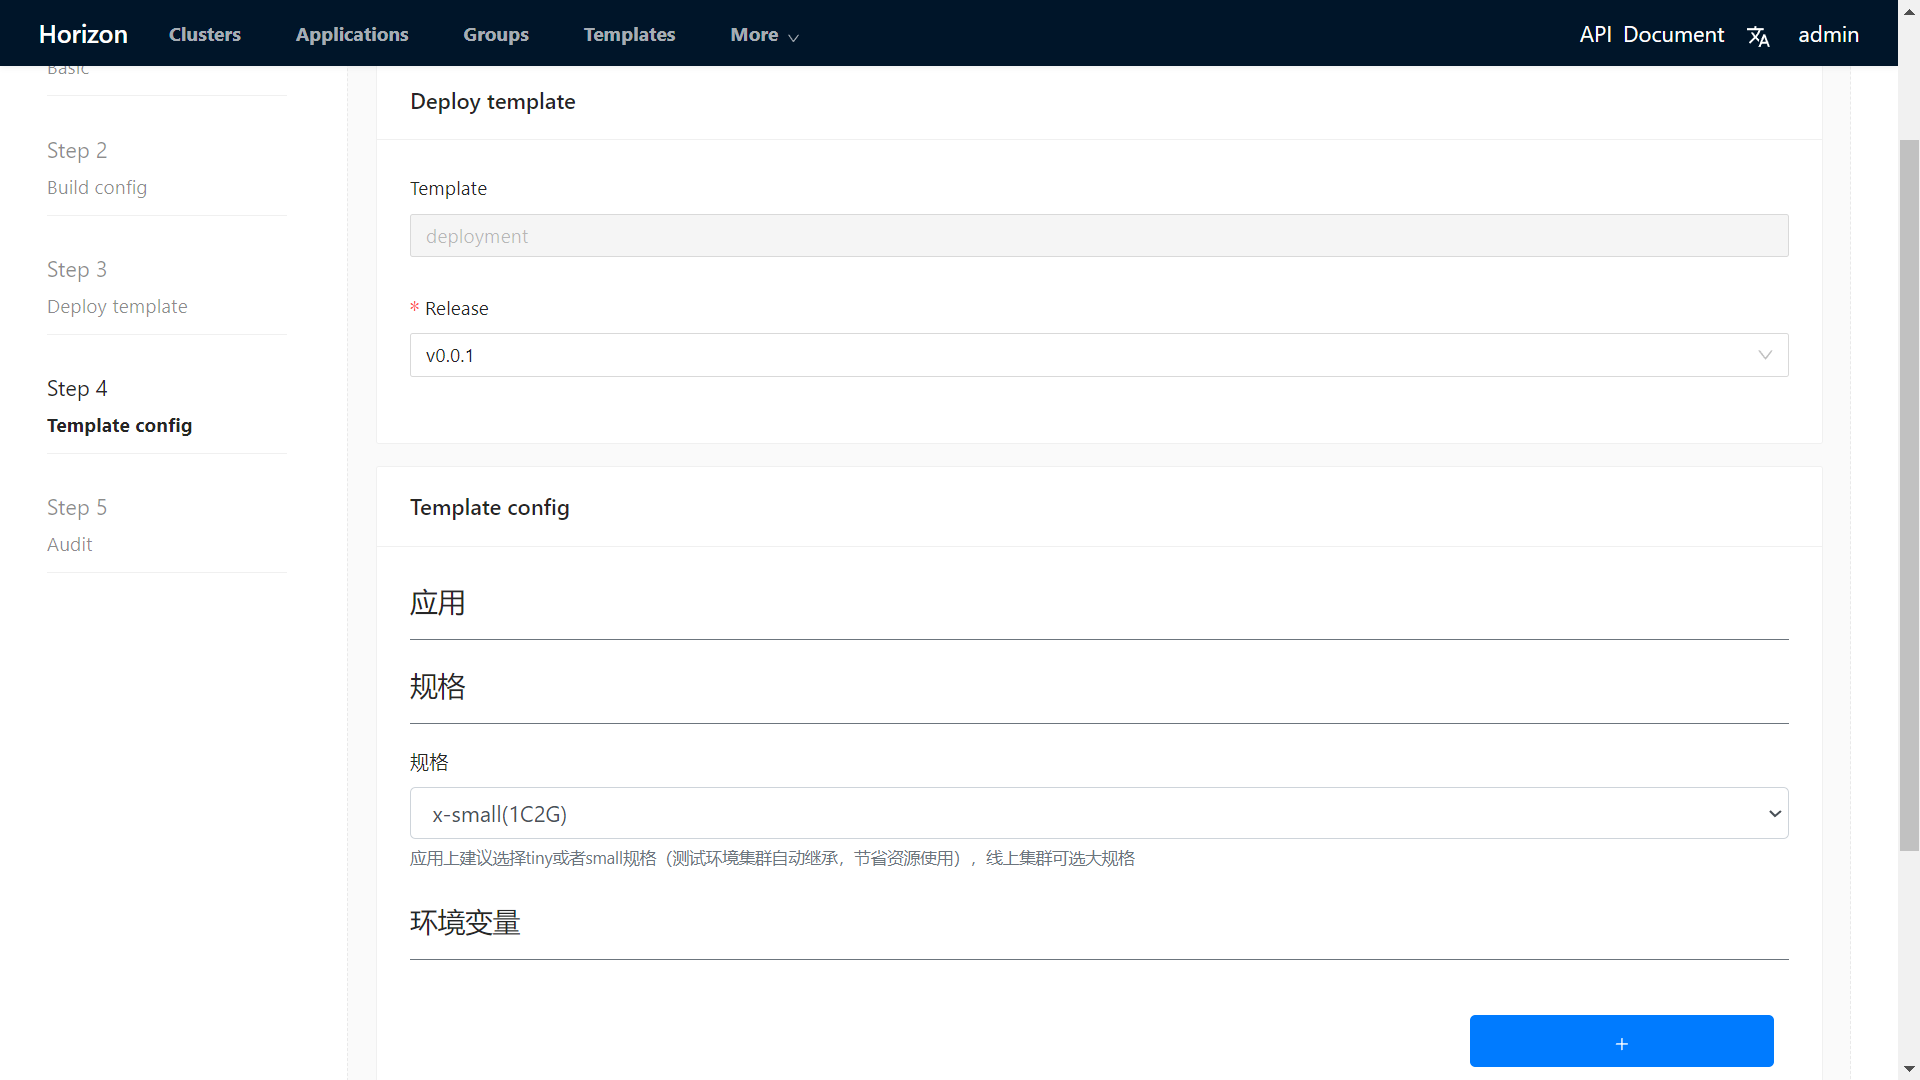
Click Next and audit your configurations.
Click Submit to create it.
8. Create a application instance
- From the application page, click New application instance button to start to create a new application instance.
- Select environment and region where you want to deploy the application instance.
- Click Next and Submit to create it.
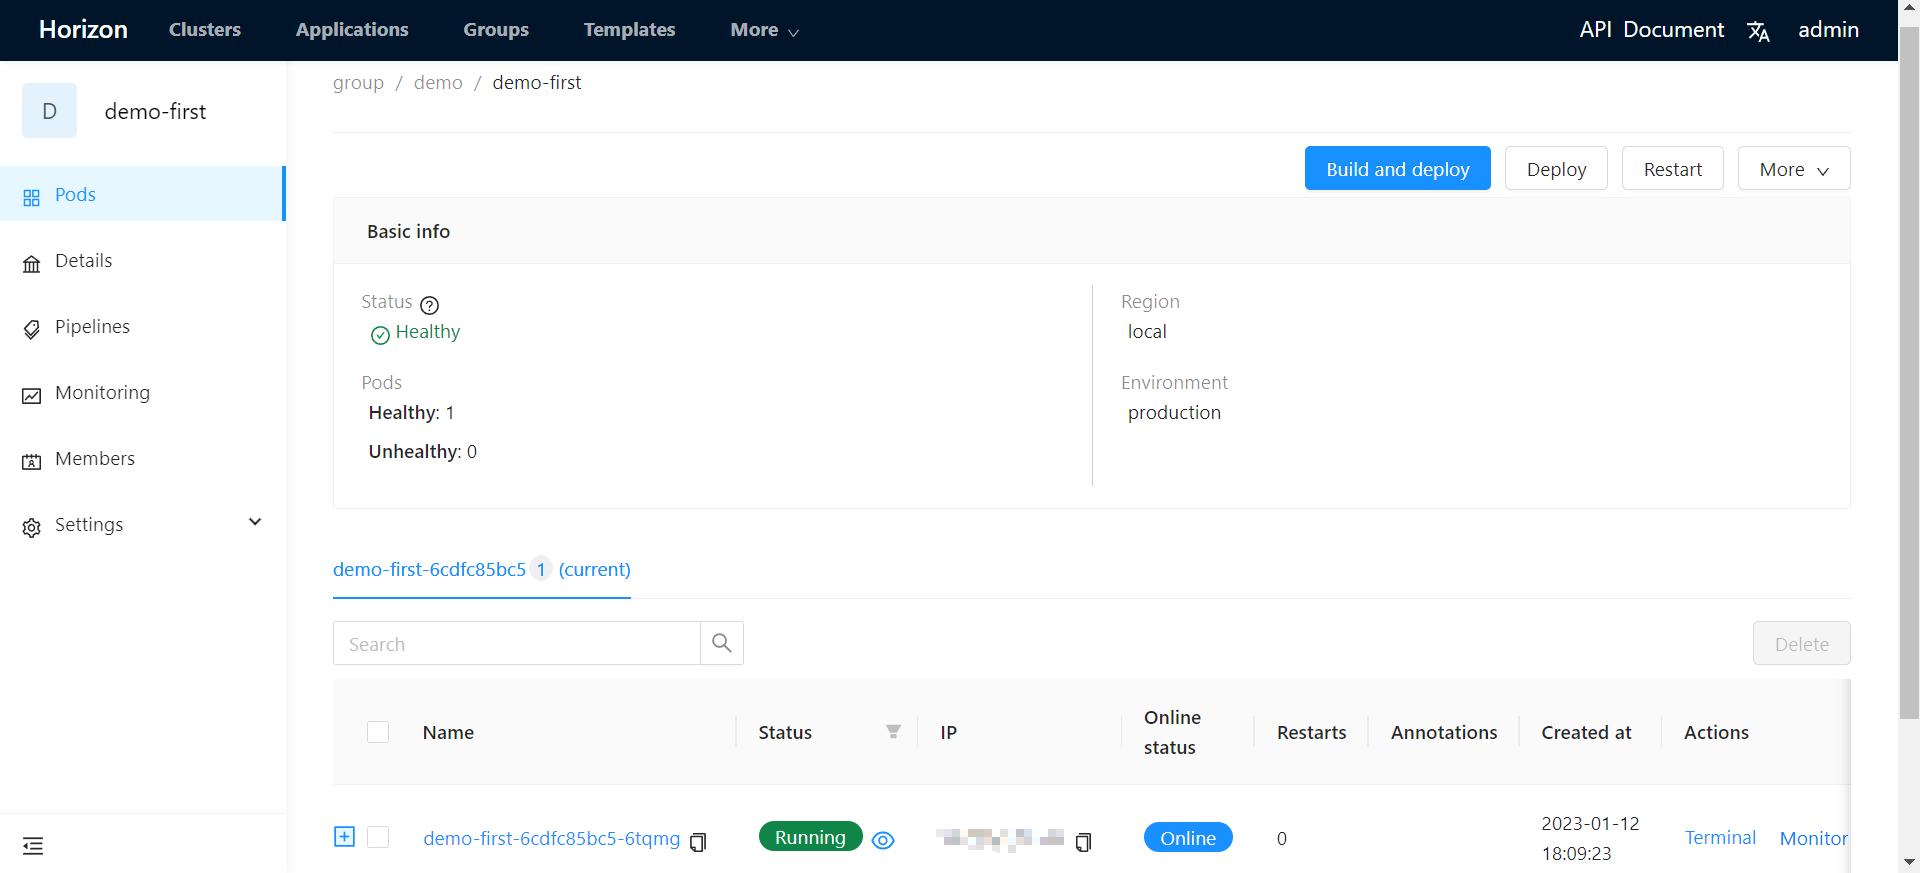
9. Deploy your application instance
Now, it is the last step to deploy your first workload!
- From the application instance page, click Build and deploy button
- Select your git reference and check the differences from the last revision.
- Click Submit button to confirm the build and deploy.
- Check the pipeline's log and application instance status.
- When the application instance status is healthy, your first
deploymentworkload is successfully deployed on kubernetes!